eBook “The Origin of Christianity” making process (Word)
The fifth edition of e-book "The origin of Christianity" in
English and
Japanese has been published throughAmazon and its Chinese version has been published through
SEAnews eBookstore.
In addition, we tried to publish English version of this book to paperback with Amazon Kindle Direct Publishing's POD (Printing on demand) scheme.
ReferenceAlong with this, we also has updated the blog published the production process of this book with Microsoft Word and
JustSystems' Ichitaro. We would be glad if you use them as a reference.
Insertion of text
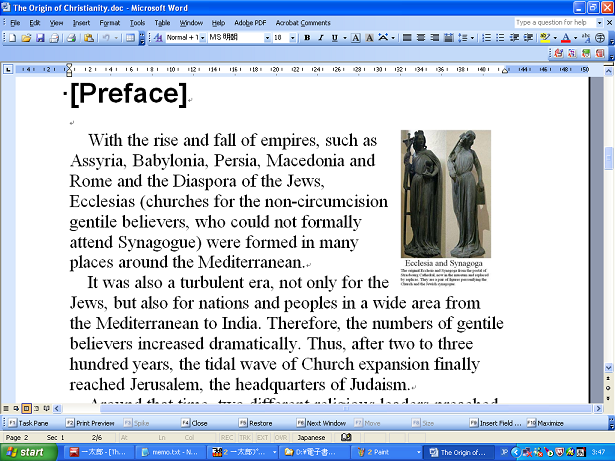
①Open the whole text of “The Origin of Christianity” in text format with “Word”, like below.
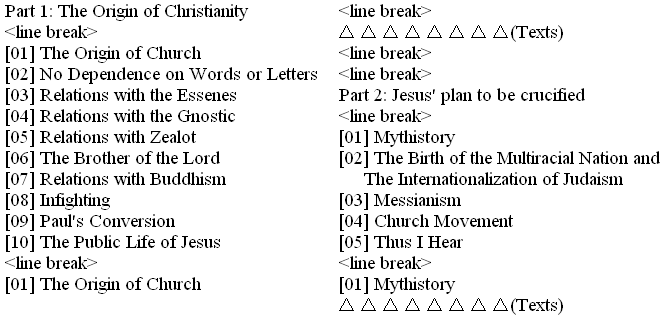
②Put one blank line between the texts of [Preface] and the heading of [Table of Contents (Just heading only, no contents yet)].like the example above.
③Put the heading of [Detailed Table of Contents (Just heading only, no contents yet)] after one blank line following the texts of [Notes about the Author] like the example above..
④Make the lists of “Medium headings” under the Patt 1, Part 2, Part 3 and Part 4, put them below of each “Large heading” of the Patt 1, Part 2, Part 3 and Part 4 and put one blank line above and below of the each list, as follows.
⑤Put two blank lines above each of “Large heading” such as Part 1, Part 2, Part 3 and Part 4 and one blank line below of each of them, as follows.
Basic font settings of the full text
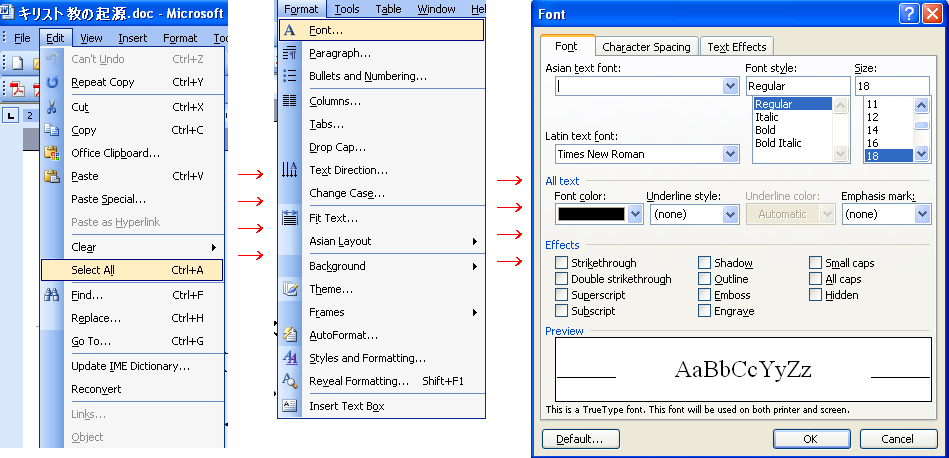
①“Edit”→“Select All”
③“Format”→“Font”
Latin text font: Times New Roman
Font style: Regular
Size: 18
④Click “OK”
Setting of “Large heading”
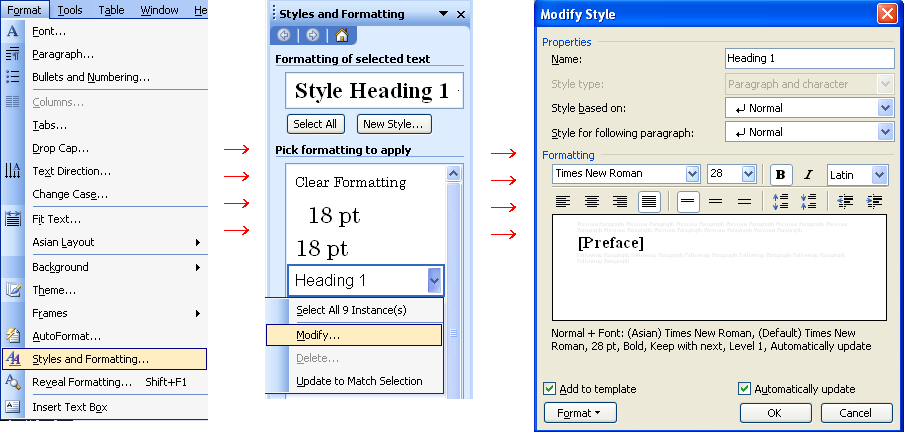
①Select all of “Large headings”, such as [Preface], [Table of Contents], [Part 1 The Origin of Christianity], [Part 2 Jesus' plan to be crucified], [Part 3 The baptism of the Holy Spirit (The Origin of Zen Buddhism)], [Part 4 Additional thoughts], [Acknowledgements], [Notes about the Author] and [Detailed Table of Contents].
②“Format”→Click “Styles and Formating”, Right click “Heading 1”→Click “Modyfy...”→Select “Times New Roman/Bold/28,“Add to template” and“Automatically update”→Click“OK.”
Note:When you complete the "Styles and Formating," a "black spot" is displayed on the head of each "headline." However in case of a "headline" of more than one line or Asian font and Latin font coexist, often the "black spot" is not displayed. Then you have to set it over and over again, until you see a "black spot" come out. If it does not go really well, you may re-set font setting and style & formatting for the headline through copying that headline to Notepad and try again. You may also try to execute "Disc Cleanup" and restart the PC.
↓
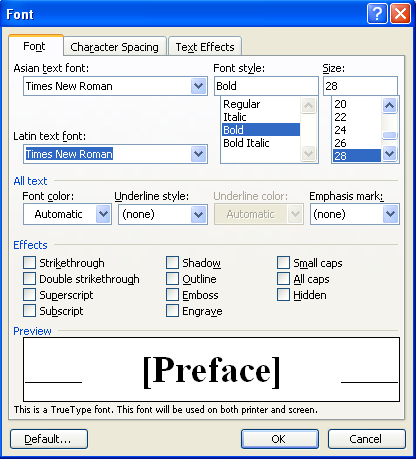
③Then Click“Format”→“Form” and select Times New Roman/Bold/28
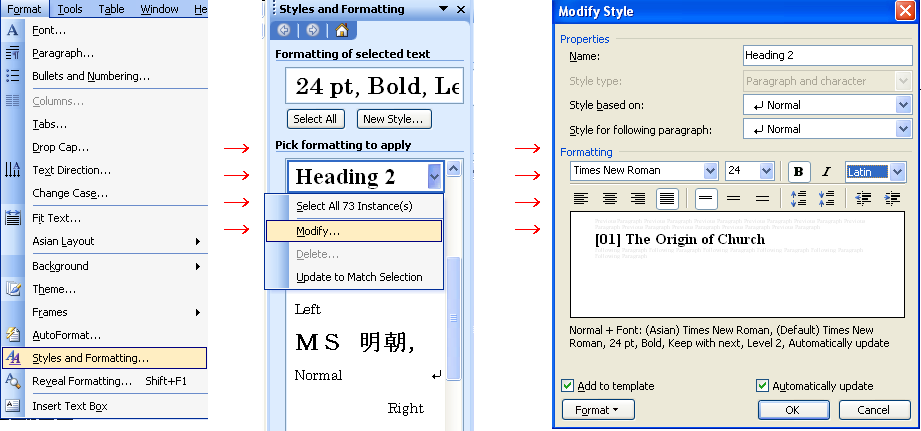
Setting of “Medium heading”
①Select all of“Medium headings.”
↓
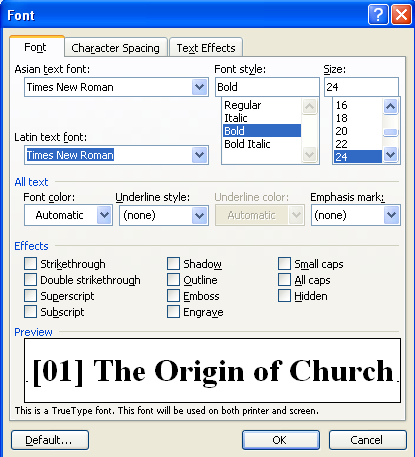
②“Format”→Click“Styles and Formating”→Right click“Heading 2”→Click“Modyfy...”→Select“Times New Roman/Bold/24” ,“Add to template” and“Automatically update”→Click“OK.”
↓
③Then Click“Format”→“Form” and select“Times New Roman/Bold/24”
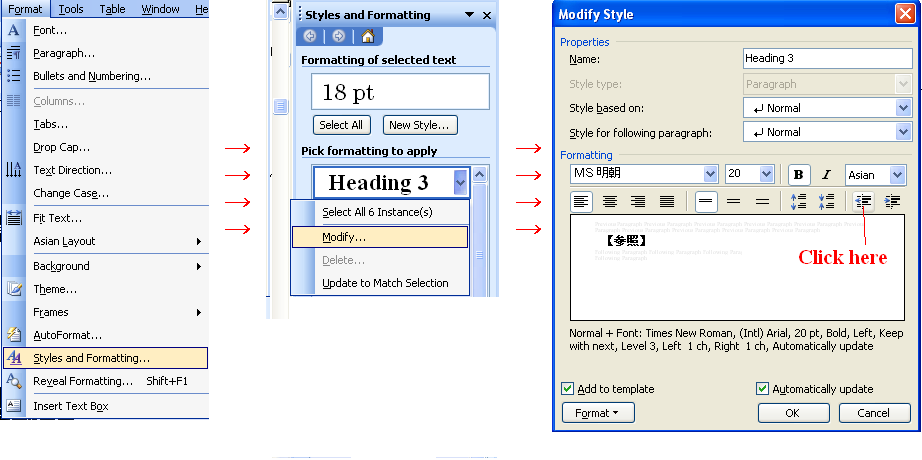
Setting of “Small heading”
①Select all of“Small heading” and“References” and hedings under“References”
↓
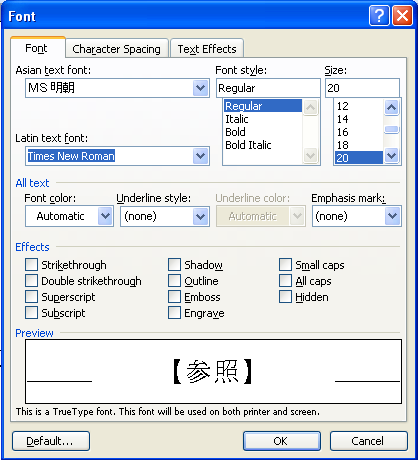
②“Format”→Click“Styles and Formating”→Right click“Heading 3”→Click“Modyfy..”→Select“Times New Roman/Bold/20”,“Add to template” and“Automatically update”→Click“OK.”
↓
③Then Click“Format”→“Form” and select“Times New Roman/Bold/20”
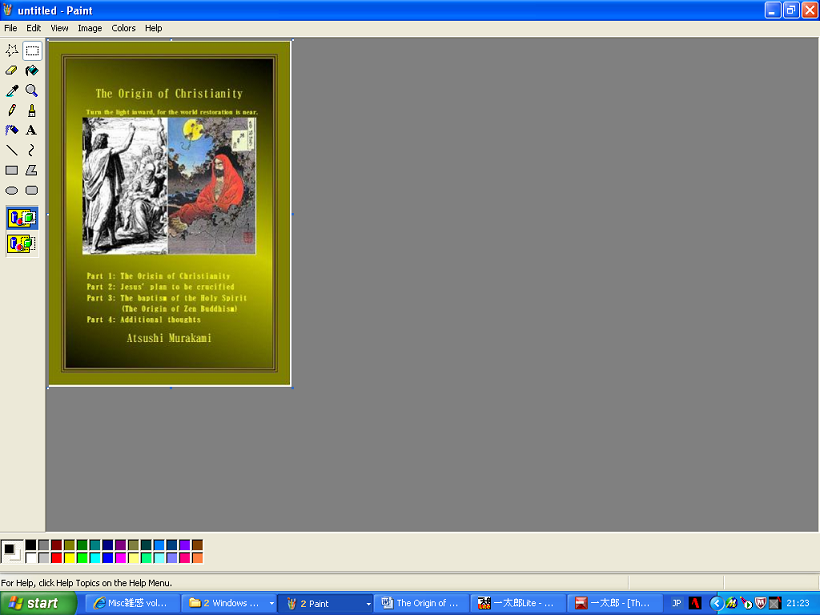
Insertion of the image of front cover
①Open“D:\e-book\image\cover1.gif” with Paint tool and select all and copy.
②Move the cursor to the top of the edit screen of“Word.” and paste the image just copied from Paint.
③Right click the image→“Format Picture”→“Layout”→“Advanced”→“Text Wrapping : Top and bottom”→“Picture Position : as the picture below”→Click“OK”
④Fit the width of the image to the left and right ends.
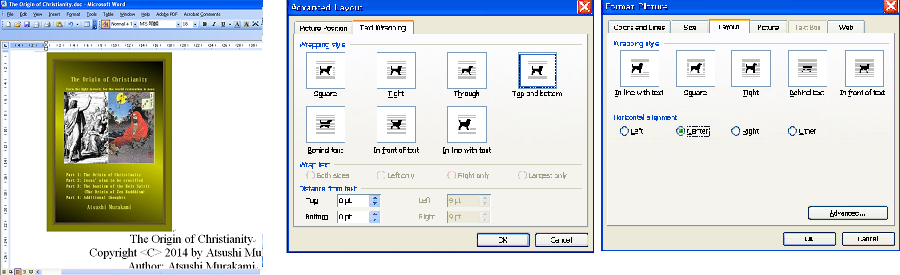
Insertion of the illust of [Preface]
①Open the illust with Paint tool and select all and copy.
②Paste the illust to a predetermined place. in the text of [Preface].
③Right click the illust→“Format Picture”→“Layout”→“Advanced”→“In line with text”/“Square”→“Right”→Click“OK”
④Adjust the size of the pasted image.
Temporary output of the table of contents
This is a process to ensure the space of the [Table of Contents]. This [Table of Contents] also will be re-created again, after inserting all images.
①Put the cursor under the heading of [Table of Contents].
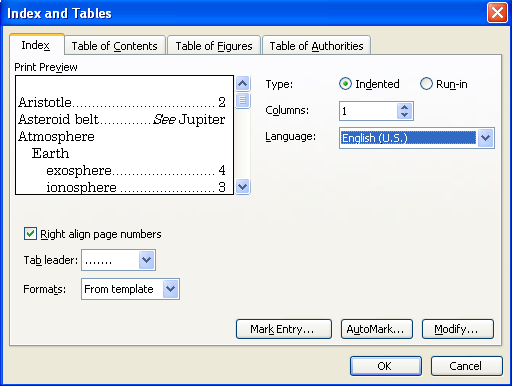
②“Insert”→“Reference”→“Index and Tables”
③Click "Index" tab and set as follows.
"Type: Indented" / "Columns: 1" / "Language: English" / Put a check on "Right align page number" / "Tab leader : ......." / "Formats : From template"
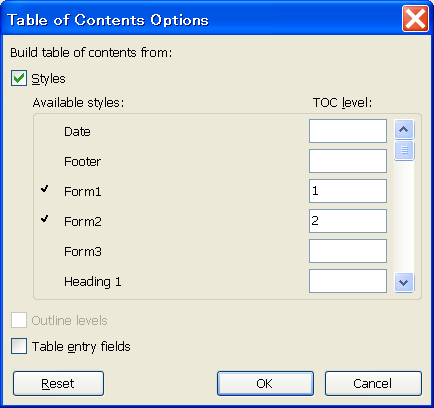
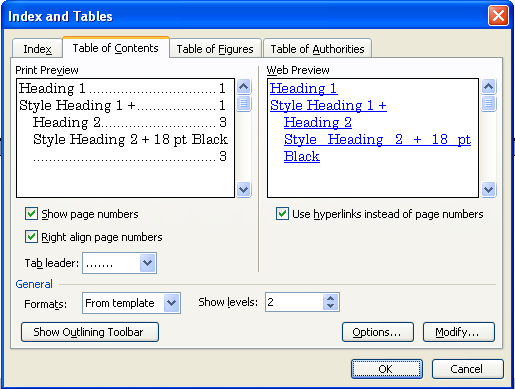
④Click "Table of Contents" tab→Click "Options" and set as follows.
"Form1 : 1" / "Form2 : 2" / Cancel all other settings. / Uncheck "Styles" and "Table entry fields".→Then click "OK."
⑤"Table of Contents" tab→"Show levels : 2"
Once you have verified as follows, click "OK".
↓
"Table of Contents" is generated. If a question of“Do you want to replace the selected table?” appears, click "Yes".
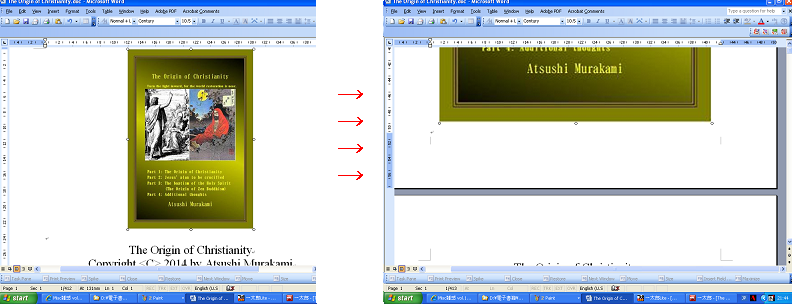
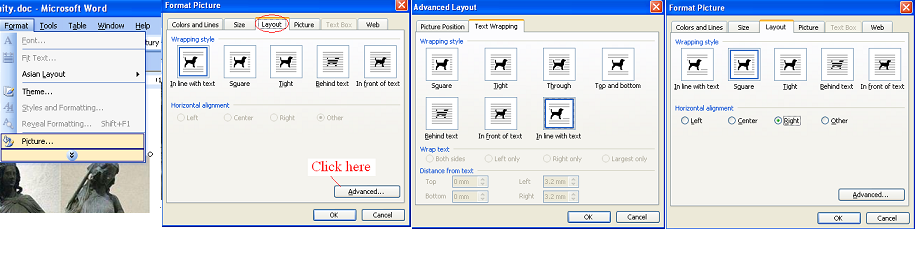
Insertion of illust images
①Open one of the illusts with Paint tool and select all and copy.
②Paste the illust to a predetermined place. in the text.
③Right click the illust→“Format Picture”→“Layout”→“Advanced”→“In line with text”/“Square”→“Right”→Click “OK”
④Adjust the size of the pasted image.
⑤After inserting all of the illustrations, check the each illustration is within the edit screen and is not out of it.
⑥After verifying each of the illustrations is within the editing screen, save the document, execute “Disc Cleanup” and restart the PC.
Output of the table of contents
①Put the cursor under the heading of [Table of Contents].
②“Insert”→“Reference”→“Index and Tables”→“Table of Contents”→Set “Show levels : 2”→“OK”
↓
If a question of “Do you want to replace the selected table?” appears, click “Yes”
③Save the document.
④Put the cursor under the heading of [Detailed Table of Contents].
⑤“Insert”→“Reference”→“Index and Tables”→“Table of Contents”→Set “Show levels : 4”→“OK”
↓
If a question of “Do you want to replace the selected table?” appears, click “No” ↓
Save the document, execute “Disc Cleanup” and restart the PC.
Conversion into PDF file
Note : Before proceeding to following process, you need to install Adobe Acrobat Pro. After the installation of it, the menu of “Adobe PDF” will appear on the top of Word editing screen.
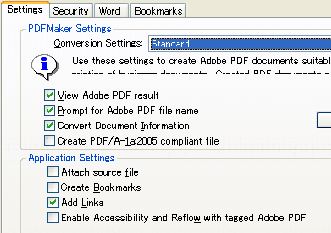
①“Adobe PDF”→“Change Conversion Settings”→“Settings”]
PDF Maker Setting: Default
Application Setting: Only put a check on “Add Links”
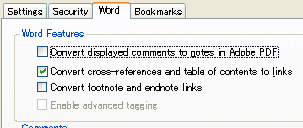
②Click on the “Word” tab.
Only put a check on “Convert cross-references and table of contents to links”
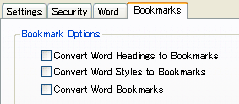
③Click on the “Book marks” tab.
Uncheck all of “Bookmark Options”
Then Click “OK.”
④Save the document, execute “Disc Cleanup” and restart the PC→Open “The Origin of Christianity.doc” with “Word.”→Wait until the Word countting the last page (for example -660-) of the document, just like “Page1 Sec1 1/660 At 247mm. Ln 1 Col1 Japanese” which will appear on the bottom line of the editting screen. Do not proceed to convert the document into PDF before. confirming it.
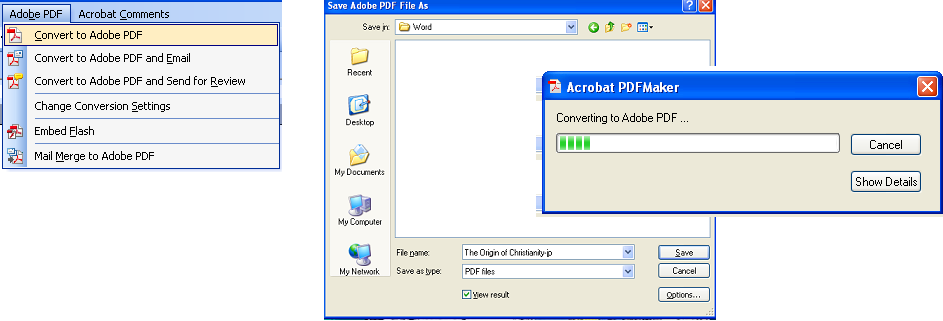
⑤“Adobe PDF”→“Convert to Adobe PDF”
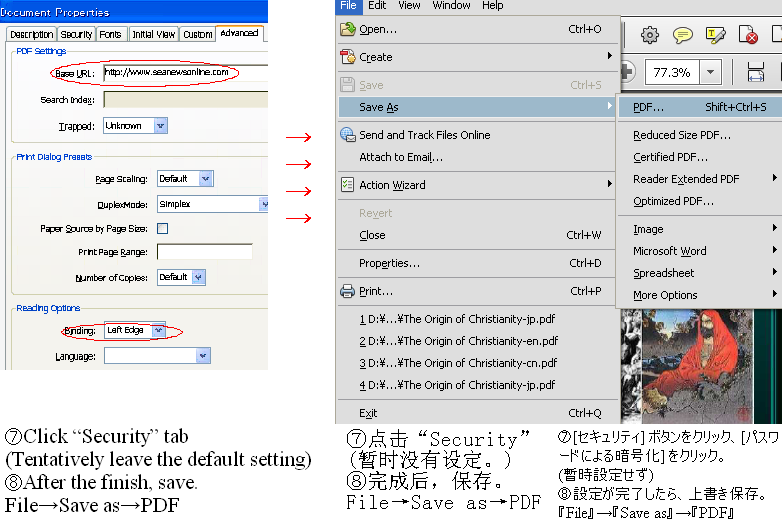
Processing with Adobe Acrobat
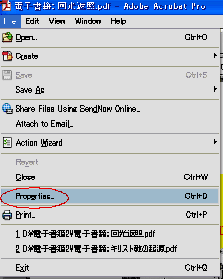
①Open the PDF just created
②File→Properties
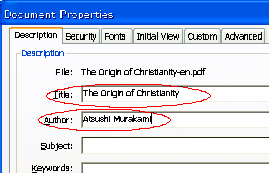
③Click “Description” tab.
Title:The Origin of Christianity
Author:Atsushi Murakami
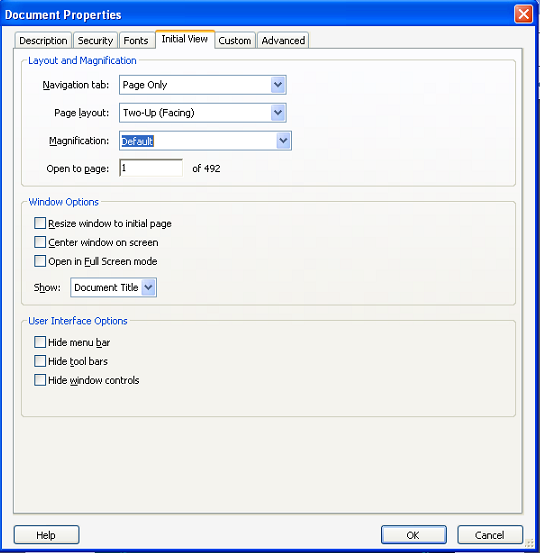
④Click “Initial View” tab.
Page layout:Two-Up (facing)
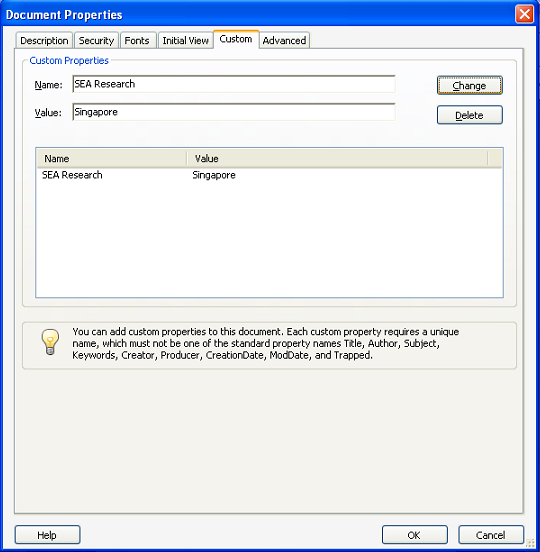
⑤Click “Custom” tab.
Name:SEA Research
Vlue: Singapore
⑥Click “Advanced” tab.
Base url:http://www.seanewsonline.com
Binding:Left Edge
Language:English
◆Recruitment of Ad-SEAnews Canvassers
Your Comments / Unsubscribe
SEAnews Messenger
SEAnewsFacebook
SEAnewsGoogle
SEAnews eBookstore
SEAnews eBookstore(GoogleJ)
SEAnews world circulation